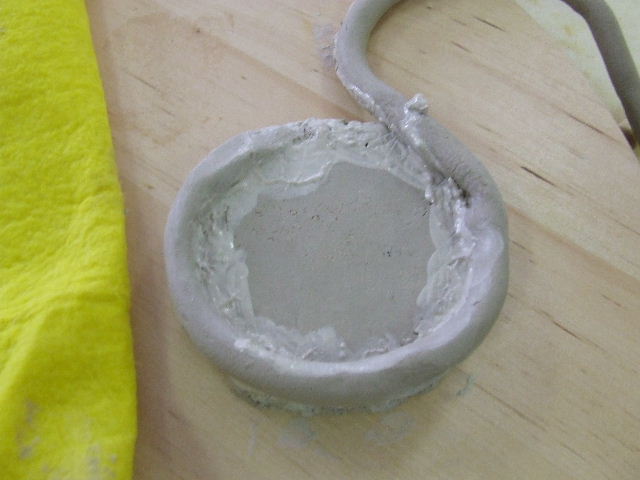
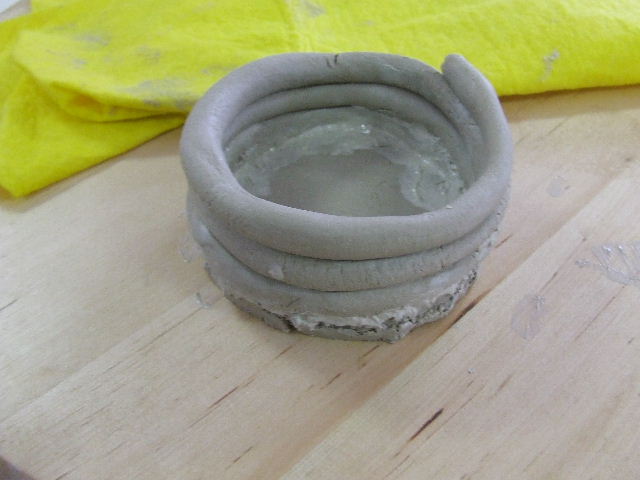
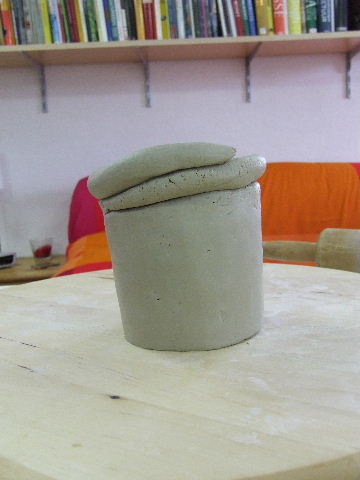
Now I place the clay coil on the base plate. I flatten the beginning of the coil a bit so that the next layer transitions smoothly. Place the coil so that the thickest part slightly extends beyond the edge of the base plate.
|
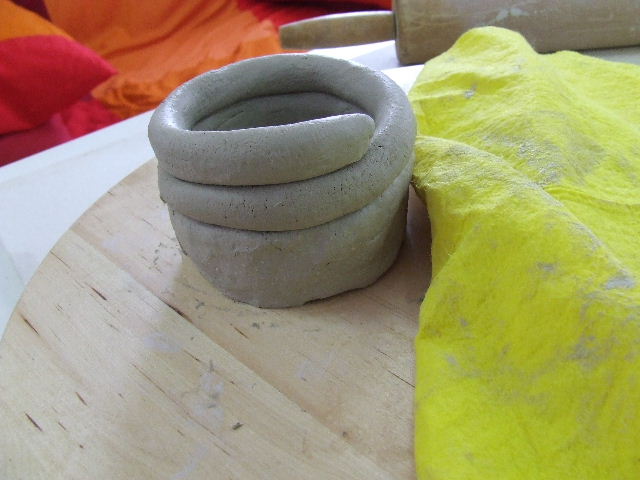
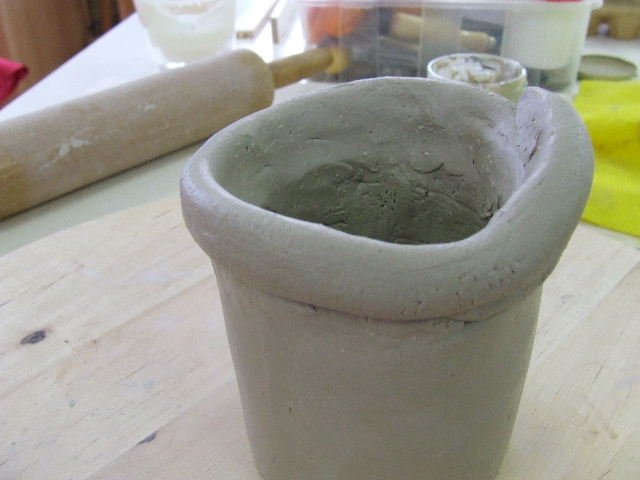
Make the wall higher by adding more layers. It doesn’t matter how long the coils are; flatten the beginning and end of each coil slightly and overlap them. When you have about three coils stacked on top of each other, use your thumb to press the coils together. Gently go over the coils from top to bottom. Do this for both the inside and outside.
|
Once the clay coils blend nicely and the wall is evenly thick everywhere, continue building. Always stack layers of two or more coils. Make sure to place the coils directly above each other, and when smoothing, avoid pushing all the clay downward. The clay pushed down while smoothing should be pushed back up. Essentially, you are filling the gaps between two coils when smoothing. Press straight down and straight up, avoiding too much inward or outward pressure, which can alter your shape. It takes some practice, but careful work will yield the best results.
|
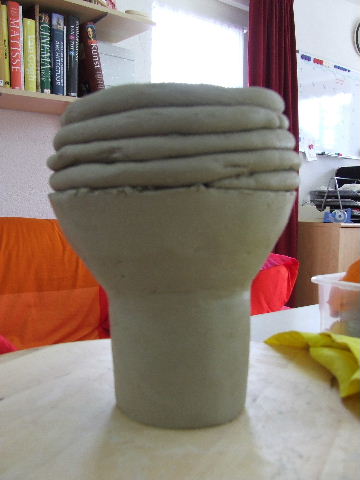
If you want to widen the shape, place the clay coils slightly further outward. To narrow it, do the opposite and place the coils slightly inward. The further outward you place the coils in one go, the sharper the curve will be.
|
When placing the coils further outward, the shape changes not only on the outside but also on the inside. It’s easier to smooth each coil before starting a new layer. Pay closer attention to the shape. To achieve a smooth exterior, you can also use a rib tool to smooth it out. If the shape gets a bit off, gently tap your workpiece with a flat wooden spatula to get the shape back. Avoid pushing with your hands, as this will deform the piece on the other side.
|
I want to give my piece a bulge. The part where the shape gets thicker is done. Now I want to make the shape narrower again. During the process, the top layer became uneven because the clay coils are never exactly the same thickness. Therefore, I cut the top flat with a knife, as you can see here. Then I continued building with coils, placing them slightly inward each time.
|
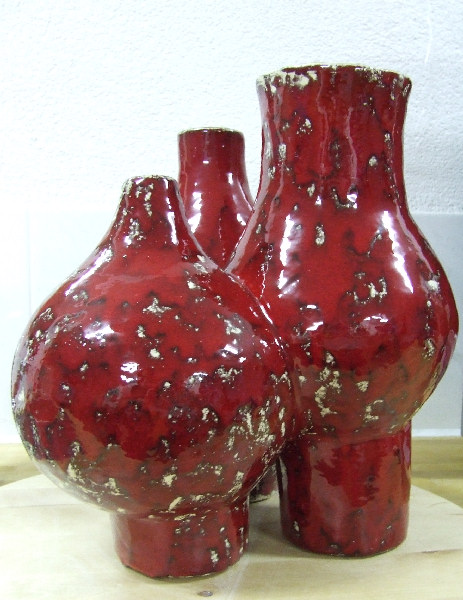
After much effort, my piece is finished. I ultimately made three shapes and combined them. Once I’m satisfied with the base, I smooth the exterior with a rib tool. Now the piece can dry, be fired, and possibly glazed.
|
After bisque firing, I apply a thick layer of cherry-red glaze. The piece is then fired at around 1050 degrees. After firing, the glaze turns a beautiful red with some light spots that give the piece a playful look.
|


