Welcome at To be defined

Welcome at To be defined, a website filled with creativity. Here you will find numerous manuals in words and images on various subjects. On this page you can only see a selection. Choose from the menu on the left for more articles on your favorite topic.
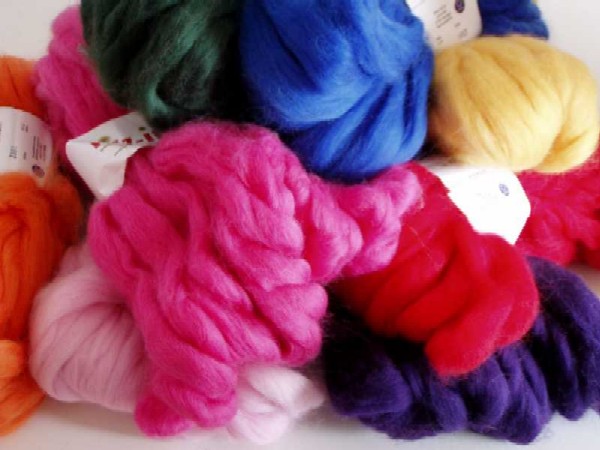
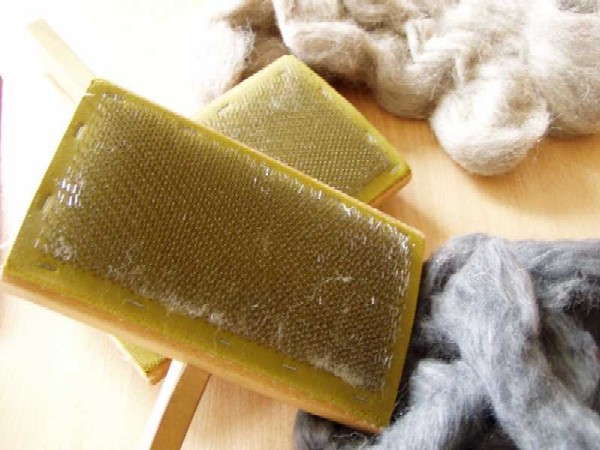
woolen topMaking felt involves using carded wool. Carding is done with carding boards or a carding mill. Carding removes dirt from the wool and separates thick clumps. When wool is well carded, it creates an even, airy fleece with fibers mostly running in one direction. You can use unwashed and undyed wool to make felt, but nowadays, there is also wool fleece or roving available that is already washed and dyed in various beautiful bright colors. This is also neatly carded and can be used almost immediately.


handcardersWhile it's better to card this roving or fleece, especially if it's somewhat compressed or twisted, you can also work without it. However, you'll need to make sure to pay attention and remove any thicker pieces by separating them until they are as airy as the rest.


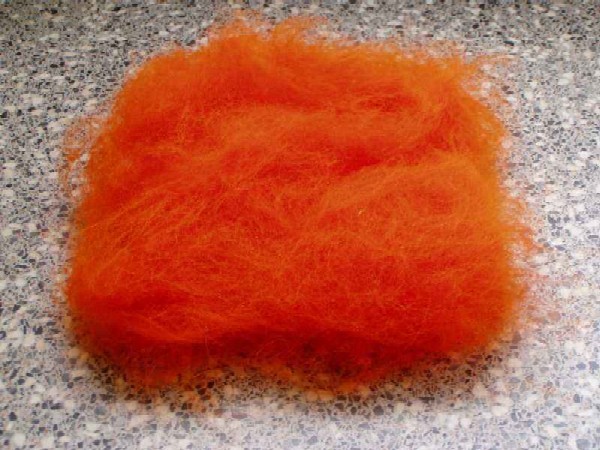
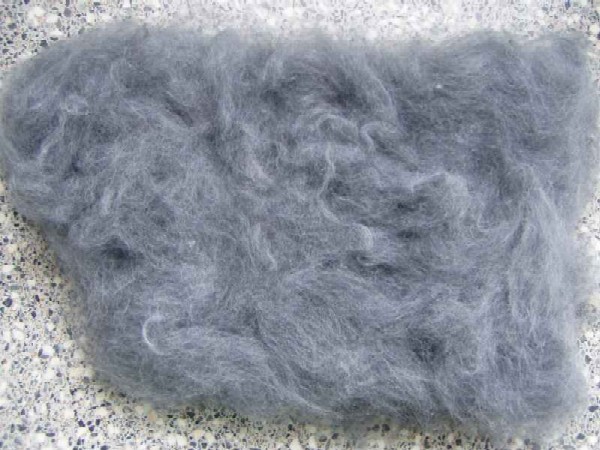
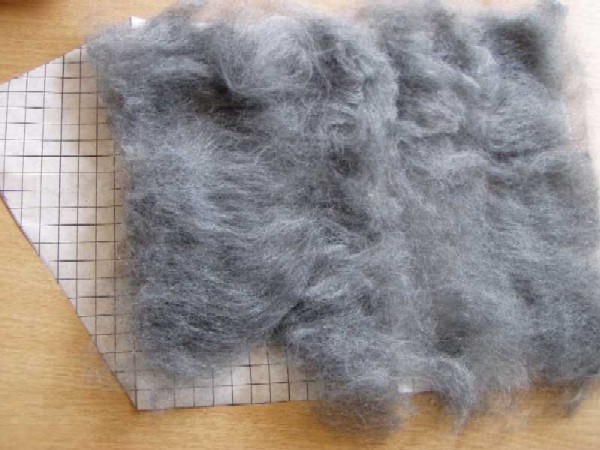
carded woolFor a sample piece, we layer various layers of wool on top of each other. We do this in different directions to make the felt as strong as possible. How thick you make it is a matter of trial and error and what you intend to do with it. Make sure you have at least 2 layers of wool on top of each other, one in each direction, otherwise, your piece won't be strong enough.


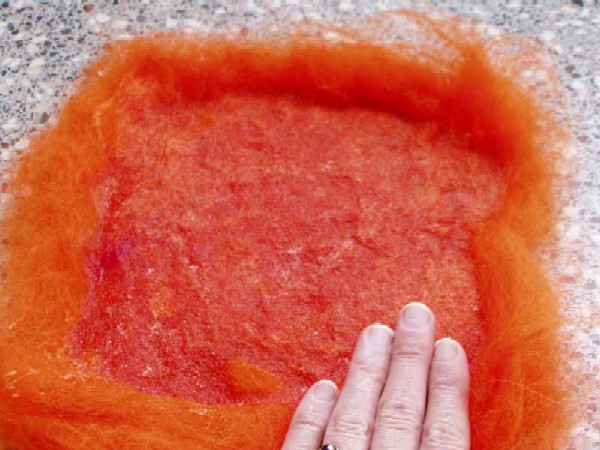
the whole pattern coveredcarded wool on a patternHere we have placed the fleece on a mold. The mold is larger than the final size we want because the felt shrinks during the process. Take into account a shrinkage of 30% to 50%. Once the mold is completely covered, we remove it from underneath and carefully place the fleece on the countertop. We now need to felt this fleece, and it's best done on the countertop because it can get quite wet.


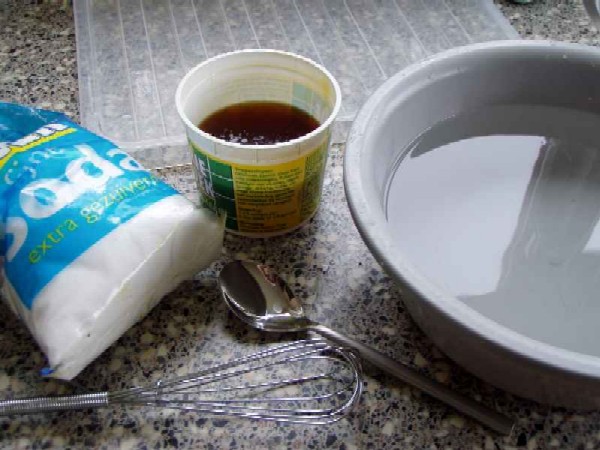
SoapWe're preparing a solution to wet the entire fleece. Here's how you make the solution: Take 2 liters of lukewarm water, around 45 to 50 degrees Celsius, so you can still comfortably put your hands in it. Add 2 tablespoons of soda to soften the water. Make sure the soda is completely dissolved using a whisk or spoon. Once done, add a generous tablespoon of soft soap from a tub. Don't use more than that. Dissolve the soap thoroughly in the solution. Keep the solution warm on a tea light or a warming plate.


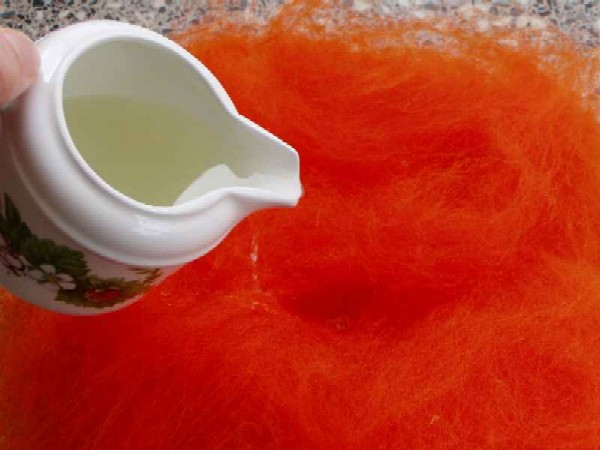
pouring the soap in the middleNow we're going to pour the solution onto the fleece starting from the center.
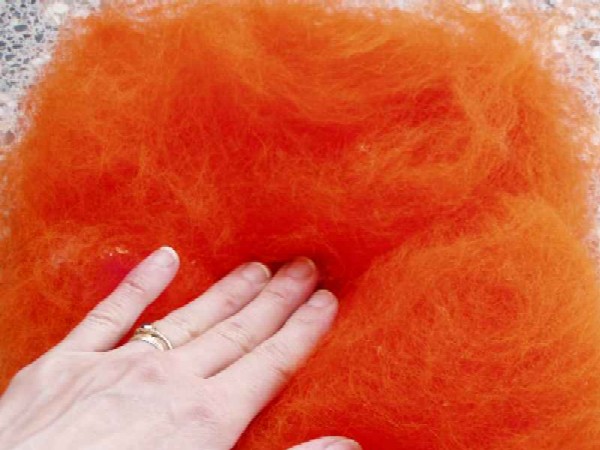
push the fleece flatPress the fleece down firmly, without rubbing, and keep moistening your hands in the solution to prevent the wool from sticking to them.
work from the inside outAll we're really doing is pushing the air out of the fleece. Work from the inside out.
keep the edges straightTry to keep the edges nice and straight.


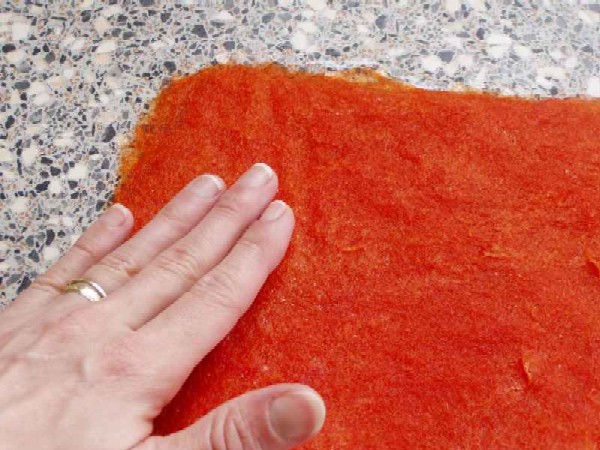
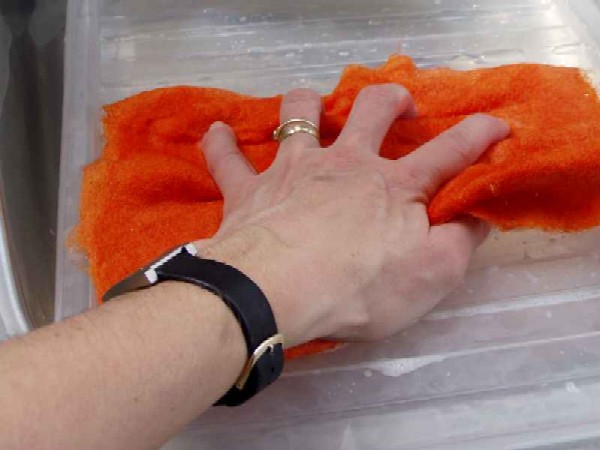
rub gentlyOnce the entire fleece is flat and wet, gently rub the fleece with flat fingers, first very softly and later with a bit more pressure. This is called felting. Turn the sides of the piece inward by hand to prevent the fleece from expanding too much and thinning out the edges. Occasionally, re-wet your hands with the soapy water. Through this process, we ensure that the fibers bond well together to create a sturdy and beautiful felt.

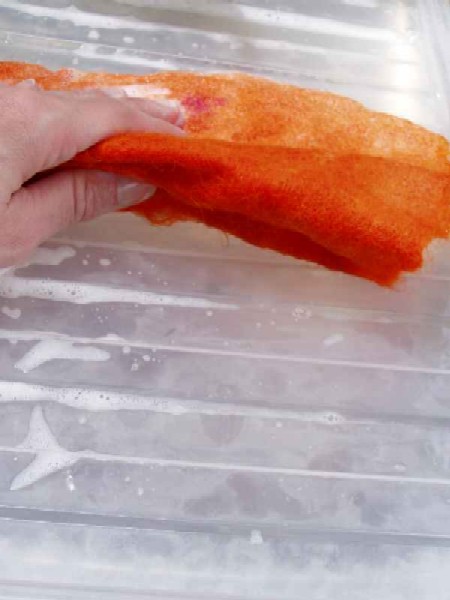
turnAfter a while, the fleece will start to resemble a true felt, and you can carefully flip it over. Repeat the rubbing motions on the back of the fleece. If the piece becomes too wet, gently squeeze out the excess water over the sink.


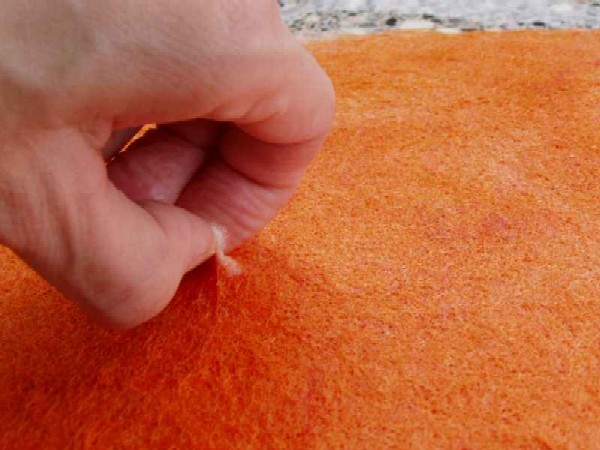
pull careful to see if the fleece is firm enoughThe duration of felting depends on several factors, including the size and thickness of the fleece. For a small sample, plan for at least fifteen minutes. To check if the fleece is ready, pinch a point in the middle of the fleece and gently tug on it. If you can lift the entire fleece at that spot and not just a few fibers, the felting is complete. It's a good idea to perform this test in multiple spots and on both sides for certainty.


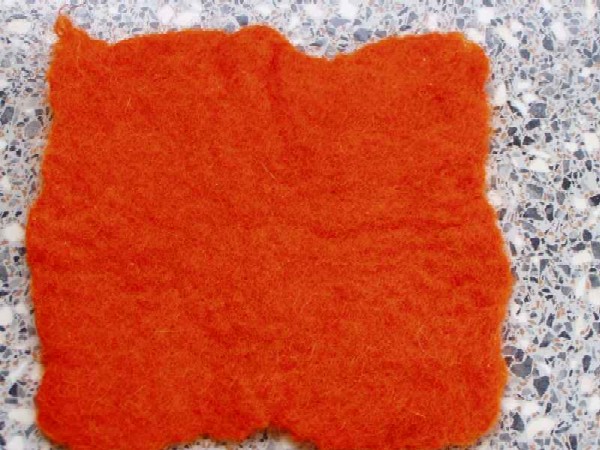
fulling, pushing and pullingfulling, pushing and pullingAfter felting is complete, we move on to fulling. During this process, shrinkage occurs. Fulling involves pressing the wet fleece together against the ridges of a felting board. If you don't have a felting board, you can use, for example, the ribbed lid of a storage box. Some countertops also have ridges that you can use. The fleece will shrink in the direction you push it, so you must continually turn the piece and push it in different directions. When you notice that the piece is no longer shrinking and has become very thick and strong, fulling is complete. Fulling takes about twice as long as felting. Finally, rinse the piece with lukewarm water and let it dry. Your felted piece is now ready to be used for crafting.


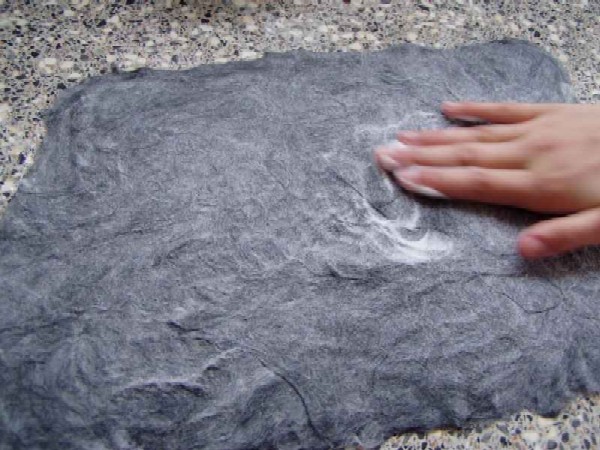
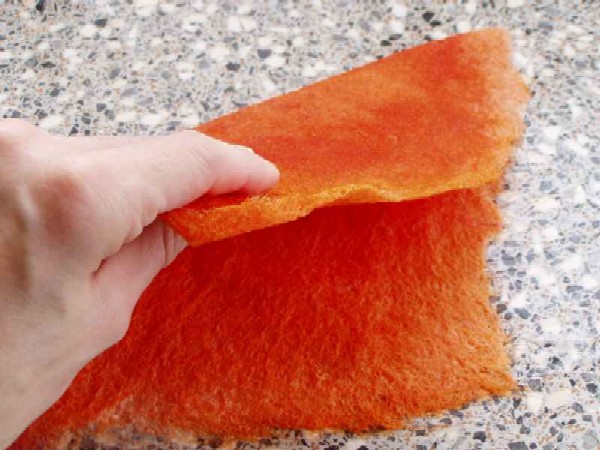
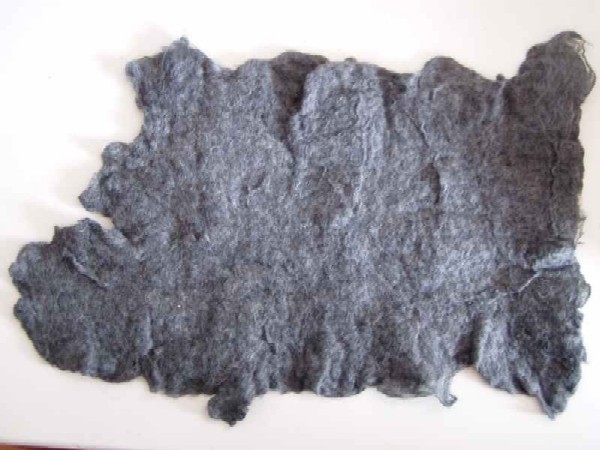
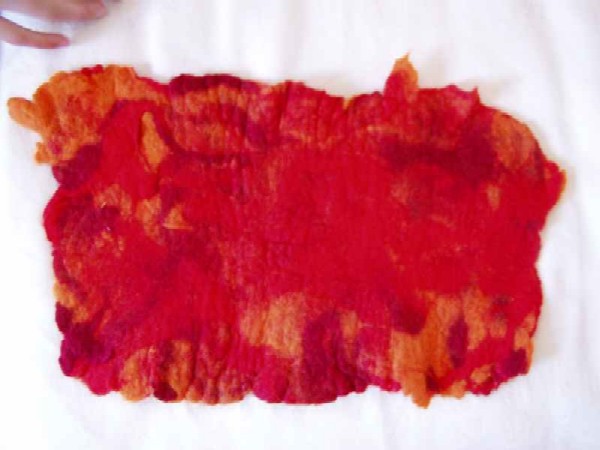
Orange feltgray feltmulticolored felt
You can endlessly combine colors and shapes in felt. Also, try mixing colored strands together, or attempt shaping the felt right away.