Welcome at To be defined

Welcome at To be defined, a website filled with creativity. Here you will find numerous manuals in words and images on various subjects. On this page you can only see a selection. Choose from the menu on the left for more articles on your favorite topic.
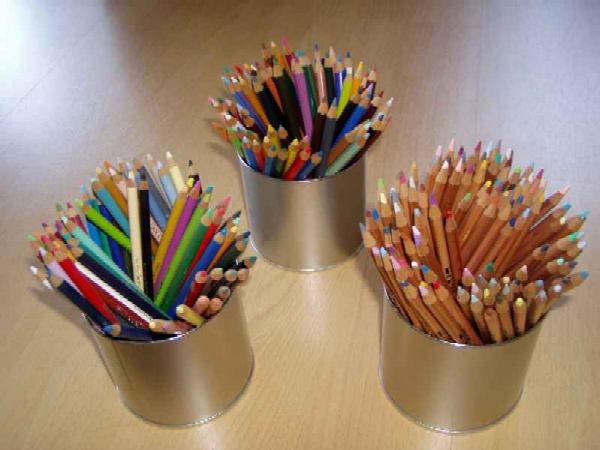
different types of pencilsAlgemene potloodtechnieken.

General pencil techniques.

Special tips on various types of colored pencils can be found in the articles:n:

  • Pencil techniques regular pencils
  • Pencil techniques pastel pencils
  • Pencil techniques watercolor pencils

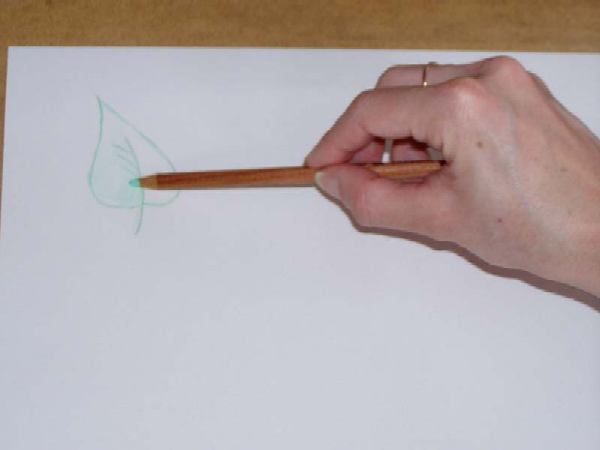
How to hold my pencil.
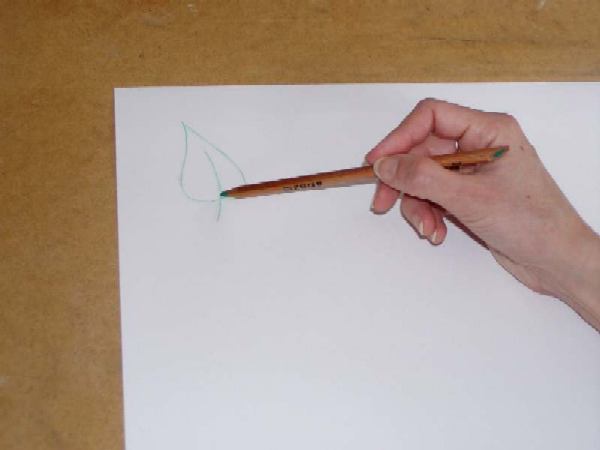
sketchingSketching and shading; when sketching, hold the pencil like a pen, but further back. Holding it this way creates a looser drawing, yet allows for good control. Try sketching from the wrist. You can use a graphite pencil for sketching, but if you use the correct color from the start, you won't see distracting graphite lines later on.

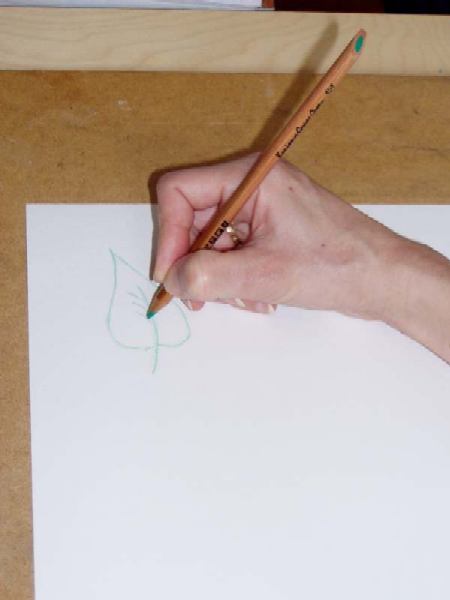
DetailsDetails; when working on details, hold the pencil like a pen, close to the tip. Try to work from left to right if you're right-handed and from right to left if you're left-handed. If you need to rest on your work, you can place a clean cloth or piece of paper under your hand to prevent smudging.

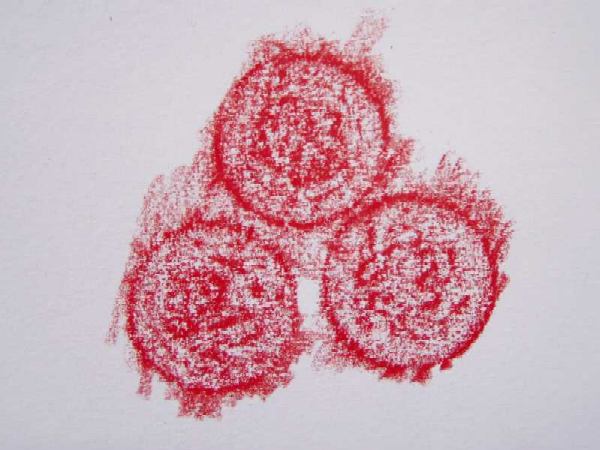
coloringColoring; when coloring, hold the pencil as flat as possible on the paper for even color fillings, without leaving visible strokes. This way, you transfer as much color as possible without creating distracting impressions (lines) on the paper. The pencil can be held overhand or underhand. If you want to see the strokes or lines of the pencils while filling, hold the pencil more upright. The more upright it is, the more "line" you'll see.

Color Mixing

Color mixing with colored pencils can be done in various ways:
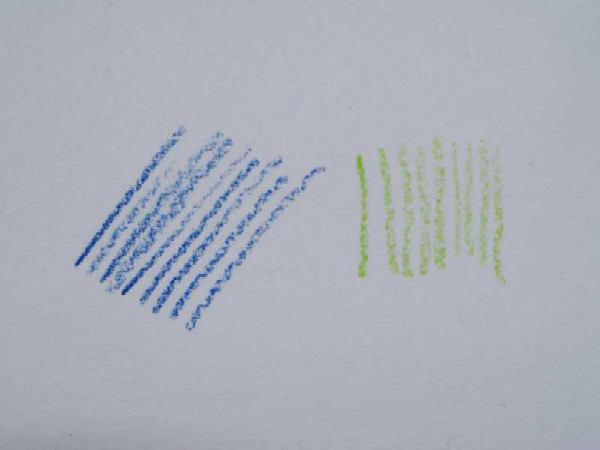
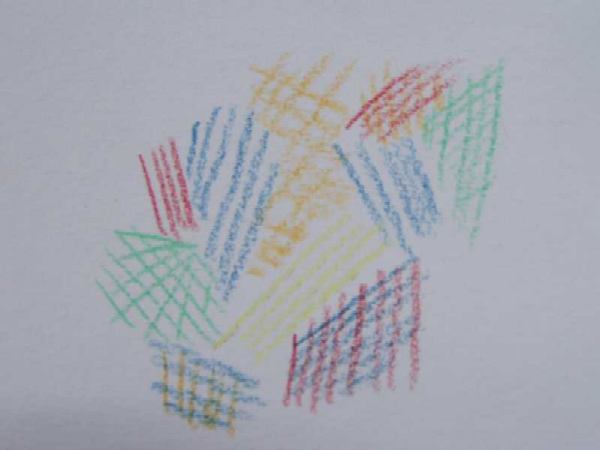
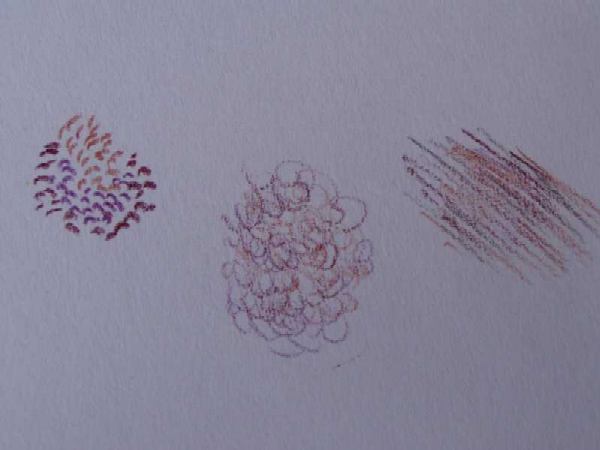
hatchingHatching; this involves placing lines of colored pencil next to each other. The length and spacing of the lines can vary. If you hold your pencil flatter on the paper, you'll get wider lines than if you hold it more upright.

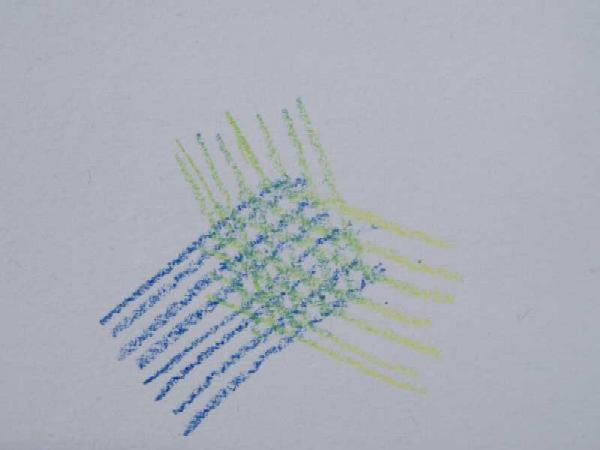
cross hatchingMixing by cross-hatching; instead of placing the lines next to each other, you can also cross them over each other. This doesn't have to be strictly horizontal and vertical. In the example, three directions are used. To mix colors, use a different color for each direction.

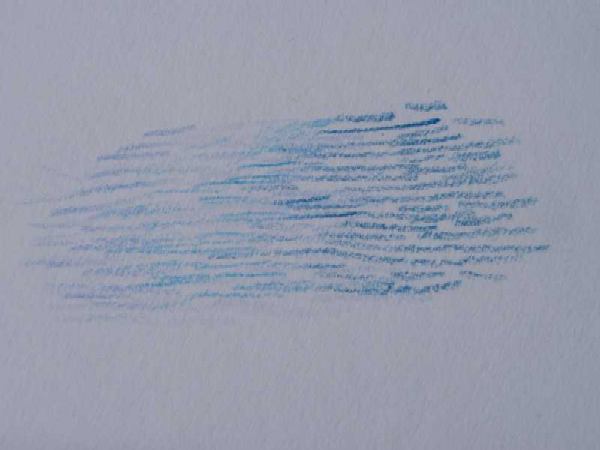
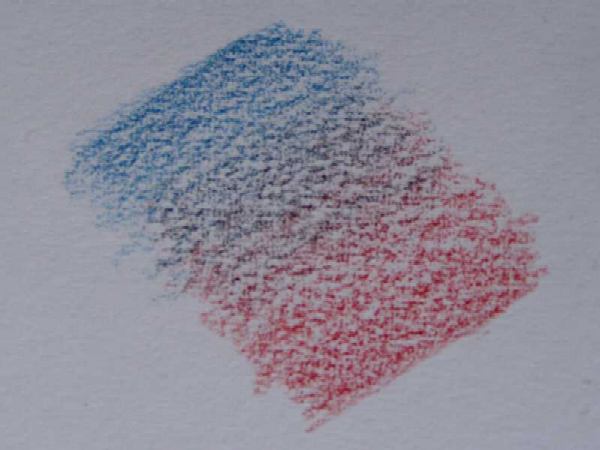
featheringMixing by "feathering"; this involves working color into each other by placing lines in various shades, all in the same direction. This creates a gradual color transition.

free hatchingFree hatching; with free hatching, the lines are applied in random directions. The spacing and length of the lines can also vary.

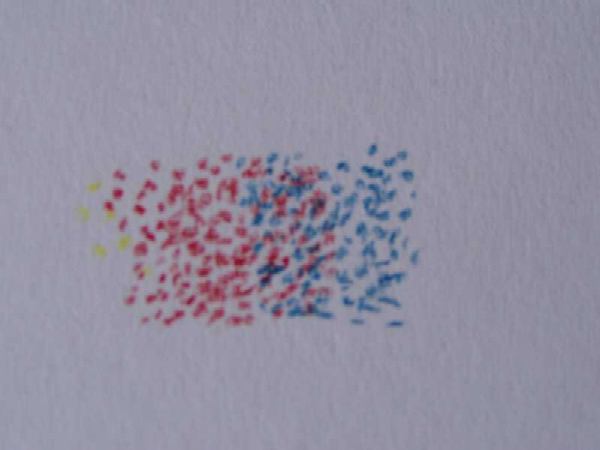
PointillismPointillism for optical mixing; pointillism is the application of colored pencil dots. By using various colors, they seem to blend. They don't actually blend, but that's how our eyes perceive it. Hence the term "optical" blending.

GlazingGlazing; this involves applying thin layers of color over each other. If the layers are thin, the underlying colors will show through. This allows them to blend. This works best when using different directions per layer.


Color Gradients:
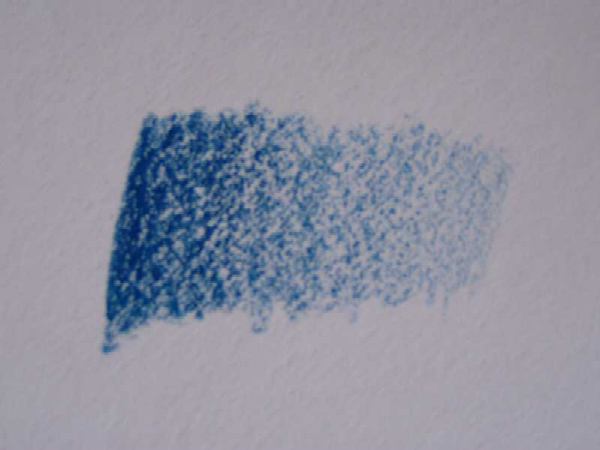
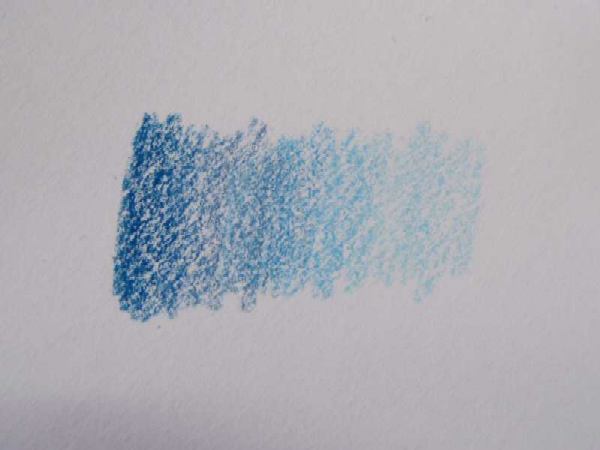
Gradients of 1 hueGradients of 1 hue; you can create gradients of 1 hue by pressing harder or softer on your pencil when coloring. Pressing harder releases more pigment from your pencil, resulting in a darker color..

Gradients by mixing colorsGradients by mixing light and dark shades; you can also obtain gradients of 1 hue by blending pencils in the same color range, allowing them to transition into each other or by using "feathering" or pointillism. However, you should choose colors that are in the same tonal value.
Adding Texture:
Varying textureVarying texture; by applying different types of hatching and scribbles, you can suggest texture. By spacing the scribbles closer or farther apart, you can also create light-dark differences.

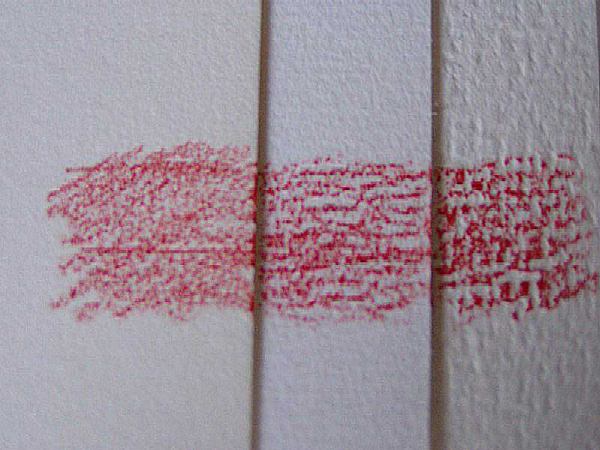
paper textureWorking on textured paper; there are many types of paper, and the paper's texture affects your drawing. You can see the paper's texture through the colors. Watercolor paper comes in many different textures and is very suitable if you want to draw on a coarse surface.

rubbingRubbing; with rubbing, you use the texture of various materials and transfer it to your paper. To rub, place the paper on the material, then fill in the color areas. This can be flat or by hatching. Pointillism does not work with this technique. You can still vary by pressing harder or softer on your pencil. Rubbing works best on not-too-thick paper.

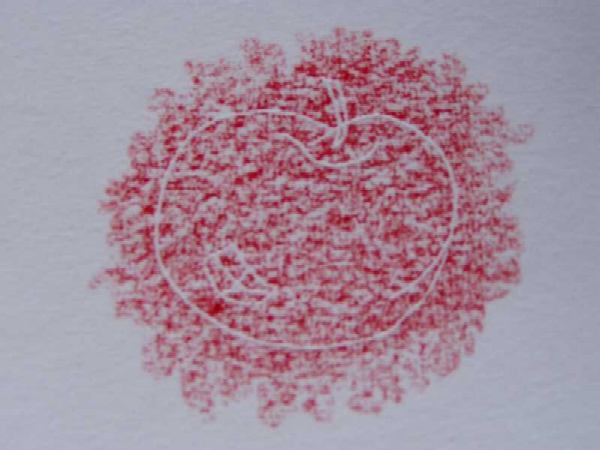
Blind pressure linesBlind pressure lines; by scratching paper with a hard pointed object, so-called pressure lines are created. Normally, these lines are hardly visible, but by coloring a surface with these lines, they become visible. The pencil and thus the pigment cannot enter these lines, so they retain the color of the paper.

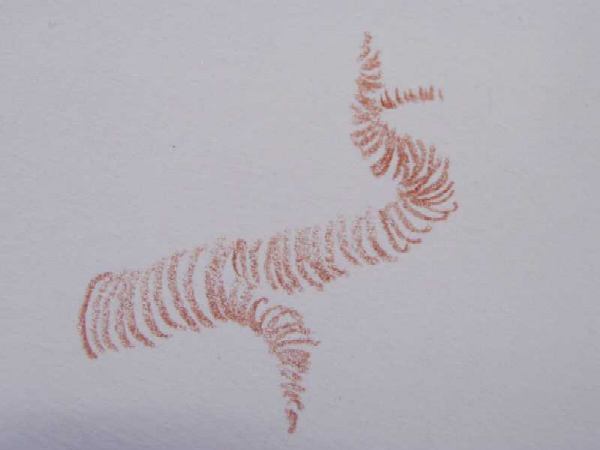
arcing with the shapeArcing with the shape; you can suggest structure by arcing with the shape of the object you're drawing. In the picture next to this, the hatchings suggest tubular shapes, branches in this case.
Preserving and Protecting Artworks:
  • Spray/fix; drawings, especially if you've also used pastels, are vulnerable. You can treat them with fixative to protect them. Moreover, especially dark colors of wax pencils have the property that a light layer of wax forms on top of the color. To prevent this, you can also spray the work with fixative.
  • Dry; always store drawings in a dry place.
  • Flat; preferably lay drawings flat, in a dedicated folder with protective sheets between the various drawings. You can use crystal paper for this, but also a very cheap thin type of paper. This is mainly to prevent the colors of drawings from transferring to each other.